Beginner Crochet Ear Warmer: Free Pattern and Tutorial
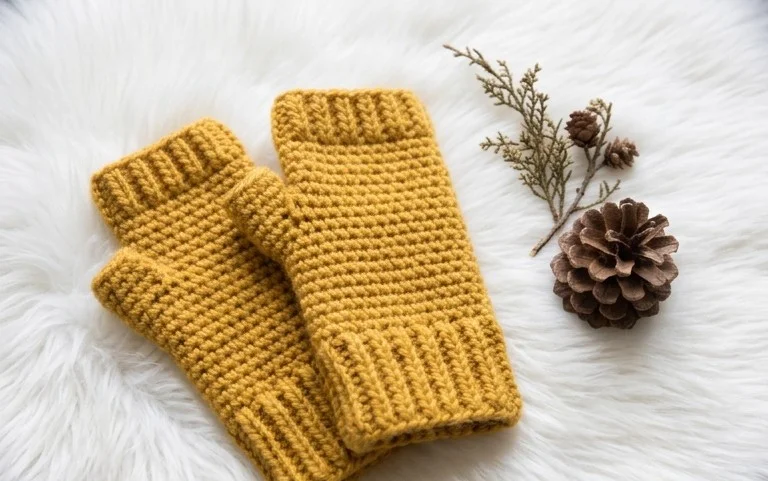
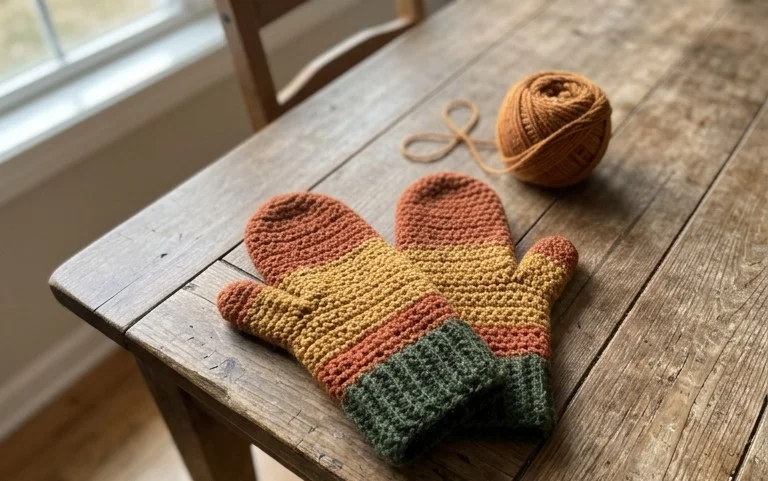
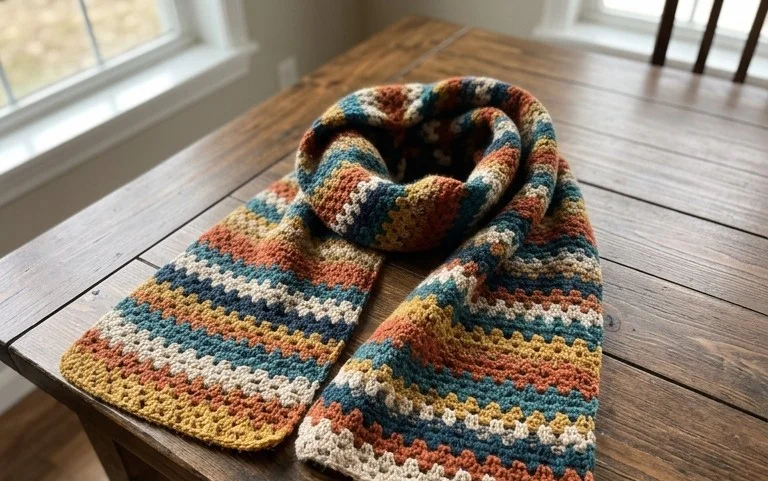
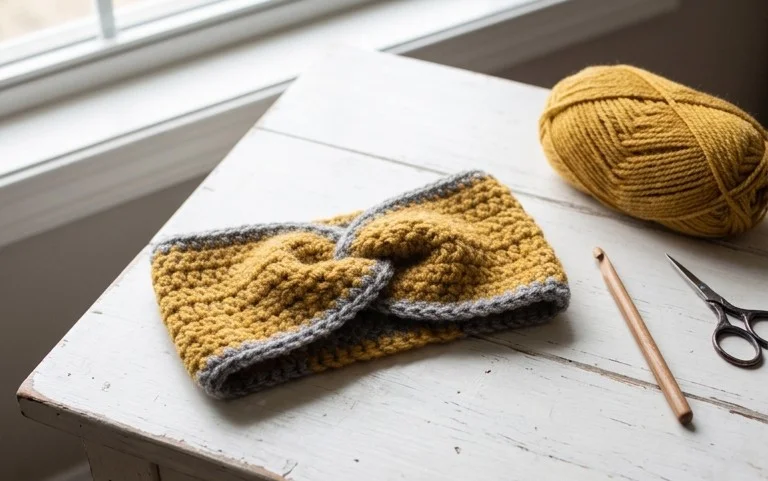
This twisted headband keeps your ears warm during crisp morning walks without the bulk of a full winter hat. It has a soft, squishy texture that makes it comfortable to wear for hours while the simple construction relies on basic stitches that grow quickly under your hook. Whether you need a quick gift for a friend or want to practice your tension, this project offers a relaxing rhythm for any crafter. You will learn how to transition between rows while keeping your edges clean and tidy, ensuring a professional finish even if you have only been crocheting for a few weeks.
Why This Project Is Worth Making
This simple crochet drawstring pouch uses basic single crochet stitches worked in a continuous spiral, making it a meditative project that requires minimal counting. Because it works up quickly in under two hours, it serves as an excellent stash-buster for leftover cotton yarn. The structural stability of the tight stitches allows the bag to hold small items like dice, headphones, or jewelry without them slipping through the fabric. Its minimalist design also makes it a versatile gift for birthdays or holiday swaps.
I finished this pouch in one evening using leftover cotton from a kitchen towel project and it has become my go-to holder for my stitch markers.
— Sarah, intermediate crafter
Pattern Overview & Skill Level
- Skill Level: Beginner
- Approximate Time: 90-120 minutes
- Construction: Working in continuous rounds starting from a flat circular base, then transitioning to a tube and finishing with a double-crochet row for the drawstring channel.
- Finished Dimensions: 4 inches wide by 5 inches tall when laid flat.
Materials & Supplies Needed
- Yarn: Worsted #4 weight, 100% cotton yarn, approximately 60 yards. Cotton is preferred for its lack of stretch and clear stitch definition.
- Hook Size: 4.5 mm (US 7)
- Notions: Tapestry needle for weaving in ends, one locking stitch marker, and 12 inches of cotton cord or braided yarn for the drawstring.
- Yarn substitutions: Acrylic #4 yarn may be used, though the pouch will be softer and have more stretch, which may result in a slightly larger finished size.
Stitch Guide & Abbreviations (US Terms)
- MR: Magic ring
- ch: Chain
- sc: Single crochet
- inc: Increase (2 sc in the same stitch)
- dc: Double crochet
- sl st: Slip stitch
- st/sts: Stitch/stitches
- Rnd: Round
Step-by-Step Pattern Instructions
Base
- Rnd 1: Start with a MR, work 6 sc into the ring. (6 sts)
- Rnd 2: 2 sc in each st around. (12 sts)
- Rnd 3: [1 sc in next st, inc in next st] 6 times. (18 sts)
- Rnd 4: [1 sc in each of next 2 sts, inc in next st] 6 times. (24 sts)
- Rnd 5: [1 sc in each of next 3 sts, inc in next st] 6 times. (30 sts)
Body
- Rnd 6: Sc in the back loop only of each st around. (30 sts)
- Rnds 7–20: Sc in both loops of each st around. (30 sts)
- Rnd 21: [Ch 2, skip 1 st, 1 dc in next st] 15 times around to create the drawstring holes. (30 sts including ch spaces)
- Rnd 22: 1 sc in each dc and each ch space around. (30 sts)
Finishing
Fasten off, leaving a 6-inch tail. Pull the yarn through the final loop and use a tapestry needle to weave the end securely into the interior of the pouch. Thread your cord through the holes created in Rnd 21 and tie the ends together to secure the closure.
Care & Washing Instructions
- Machine wash your pouch on a gentle cycle in cool water (30°C) to prevent shrinking.
- Lay the item flat on a towel to air dry, reshaping it while damp to ensure the base remains circular.
- If the fabric feels stiff after washing, gently massage the stitches with your hands to loosen the fibers.
Pro Tips & Common Mistakes to Avoid
Maintain consistent tension throughout the body rounds to ensure the bag stands upright on its own. Using a stitch marker at the beginning of every round is necessary because you are working in a continuous spiral without join-sl-st transitions. To hide your starting tail, work the first round of the base over the tail end for the first few stitches. If you want a larger bag, add more increase rounds at the beginning, keeping in mind that each increase round adds 6 stitches and will require more yarn overall.
Frequently Asked Questions
Can I substitute the cotton yarn for wool?
Yes, though wool is more prone to felting if washed in hot water. Stick to cool water hand-washing if you choose a wool blend.
How can I make the drawstring bag taller?
Simply repeat the instructions for the body section (Rnd 7-20) for as many extra rounds as you desire before beginning the drawstring channel in Rnd 21.
Is this pattern suitable for complete beginners?
Yes, it uses only fundamental stitches and does not require complex color changes or advanced shaping techniques.
May I sell the bags I make from this pattern?
You are welcome to sell finished items made from this design, provided you credit the designer and use your own original photographs for your listings.
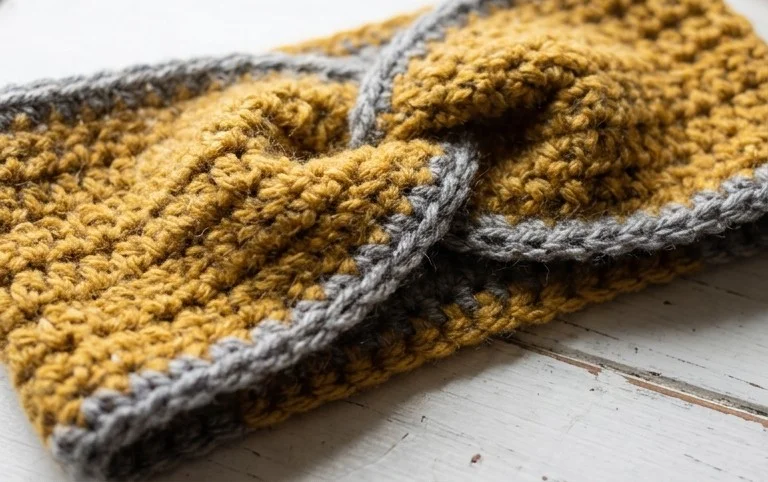
Your new handmade accessory is ready to wear the moment you weave in that final yarn tail. Try using a variegated wool for a bold look or stick to a solid neutral tone for a classic style that matches every winter coat you own. Sharing photos of your finished work helps others find inspiration for their own yarn stashes. Tag your projects on social media so fellow makers can see your progress. Browse the rest of my blog for more simple, beginner-friendly patterns to add to your queue.