Easy Crochet Monstera Plant Pattern for Home Decor
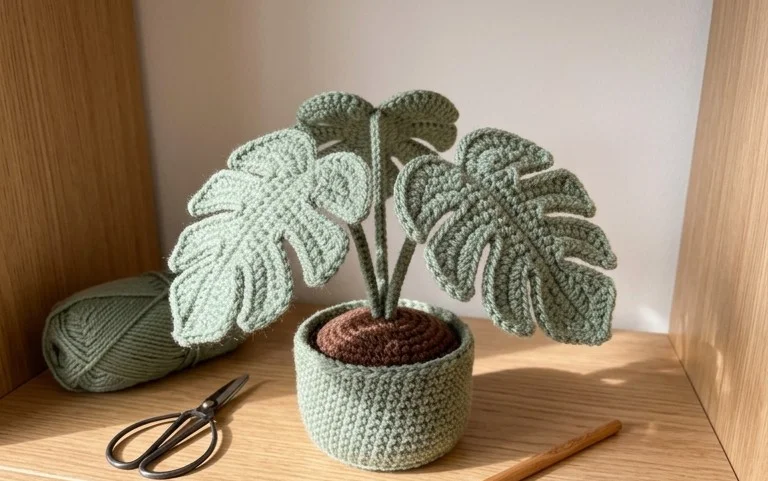
Deep green leaves with those iconic heart-shaped holes bring a lush feeling to any shelf, even if you do not have a green thumb. These handmade crochet monstera plants offer a soft, sculptural alternative to real foliage that never requires watering or sunlight to stay fresh. Beginners enjoy this project because it builds confidence in shaping flat fabric into curved, botanical forms through simple increases and chain spaces. You will spend your time practicing consistent tension to create smooth edges that mimic the natural organic growth of tropical plants. This project turns a simple ball of cotton yarn into a lasting home accent that feels warm to the touch.
Why You’ll Love This Pattern
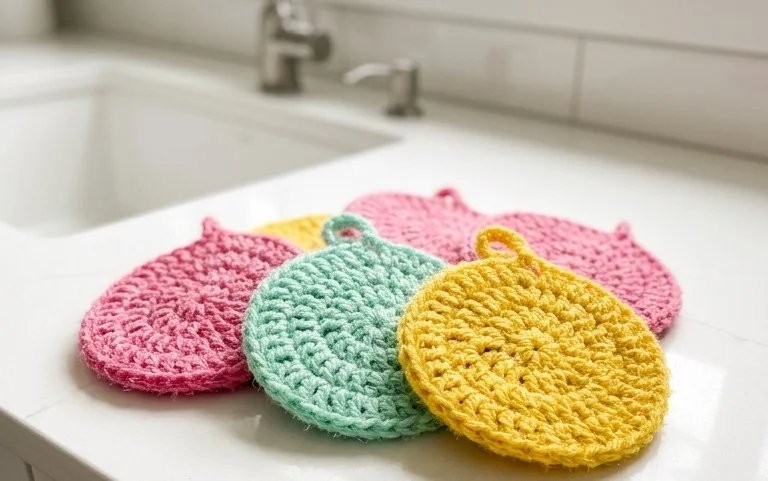
This beginner-friendly crochet coaster pattern provides a practical way to protect your furniture while practicing fundamental stitch techniques. The design relies on a continuous spiral of single crochet stitches, making it an ideal choice for new crafters who want to focus on maintaining consistent tension. Because these coasters work up in under thirty minutes, they serve as an excellent solution for using up small amounts of leftover cotton yarn. Their durability and washable nature make them a thoughtful, handmade gift for housewarmings or holiday exchanges.
I managed to finish a full set of four coasters in one evening. The instructions are incredibly easy to follow, and they lay perfectly flat on my coffee table without curling.
— Sarah, home crafter
Pattern Overview & Skill Level
- Skill Level: Beginner
- Approximate Time: 20-30 minutes per coaster
- Construction: Worked in continuous rounds from the center outward
- Finished Dimensions: Approximately 4 inches in diameter
Materials & Supplies Needed
- Yarn: Worsted weight (#4) 100% cotton yarn. Approximately 15 yards per coaster. Cotton is preferred for its heat resistance and absorbency.
- Hook Size: 5.0 mm (H-8) crochet hook.
- Notions: Tapestry needle for weaving in ends, a locking stitch marker to track the start of each round, and scissors.
- Safe yarn substitutions: Acrylic yarn can be used, though it will not absorb moisture as effectively as cotton and may melt if placed under very hot mugs. Wool yarn provides a soft texture but requires hand washing.
Stitch Guide & Abbreviations (US Terms)
- MR: Magic Ring. A technique to start rounds by crocheting into an adjustable loop.
- ch: Chain.
- sc: Single crochet. Insert hook, yarn over, pull up a loop, yarn over, pull through both loops.
- inc: Increase. Work 2 sc in the same stitch to add volume.
- st(s): Stitch(es).
- sl st: Slip stitch. Used to finish the final round for a smooth edge.
Step-by-Step Pattern Instructions
Main Body
- Rnd 1: Start with a MR. Work 6 sc into the ring. Pull the tail tight to close the center. (6 sts)
- Rnd 2: Work 2 sc in each sc around. (12 sts)
- Rnd 3: 1 sc in next st, 2 sc in next st repeat from * to * 6 times. (18 sts)
- Rnd 4: 1 sc in each of next 2 sts, 2 sc in next st repeat from * to * 6 times. (24 sts)
- Rnd 5: 1 sc in each of next 3 sts, 2 sc in next st repeat from * to * 6 times. (30 sts)
- Rnd 6: 1 sc in each of next 4 sts, 2 sc in next st repeat from * to * 6 times. (36 sts)
Finishing
Once you have completed Rnd 6, do not chain. Make one sl st into the next stitch to level off the edge of the circle. Fasten off your yarn, leaving a 6-inch tail. Use your tapestry needle to pull the yarn tail through the back of the final stitches, weaving it securely into the center of the coaster to ensure it does not unravel. Trim any remaining excess yarn close to the fabric.
Care & Washing Instructions
- Machine wash your cotton coasters on a gentle cycle in warm water.
- Lay the coasters flat on a clean towel to dry, reshaping them with your hands while damp to ensure they remain perfectly circular.
- Avoid using high-heat settings in a tumble dryer, as this can cause the cotton fibers to shrink or lose their shape over time.
Pro Tips & Common Mistakes to Avoid
Consistent tension is vital for a flat coaster; if your stitches are too tight, the coaster will cup inward, but if they are too loose, the fabric will appear wavy. Always place a stitch marker in the first stitch of every round to keep track of your count, as it is easy to lose your place in a continuous spiral. Weave your yarn ends into the back side of the work to keep the front surface clean and professional. If you decide to make a larger coaster, simply continue the increase pattern by adding one more sc between each increase in every subsequent round, but note that this will require more yardage.
Frequently Asked Questions
Can I use a different yarn weight for this pattern?
Yes, you can use a lighter or heavier yarn, but it will change the final size. A lighter yarn will result in a smaller coaster, while a bulkier yarn will produce a larger one. You may need to adjust your hook size to ensure the fabric remains dense enough to protect your table.
Why is my coaster curling up like a bowl?
Curling usually happens when your stitches are too tight or your tension is inconsistent. If the coaster does not lay flat, try using a slightly larger hook size or consciously loosening your grip on the yarn as you pull up loops.
Is it okay to sell coasters made from this pattern?
You are welcome to sell finished items created from this pattern. I only ask that you credit the pattern design to this website when listing your products online or at craft fairs.
What is the easiest way to join a new ball of yarn?
The most secure method is to finish your last stitch of the old yarn until two loops remain on the hook, then yarn over with the new color and pull through to complete the stitch. Carry the ends along the back and crochet over them for a few stitches to lock them in place before trimming.
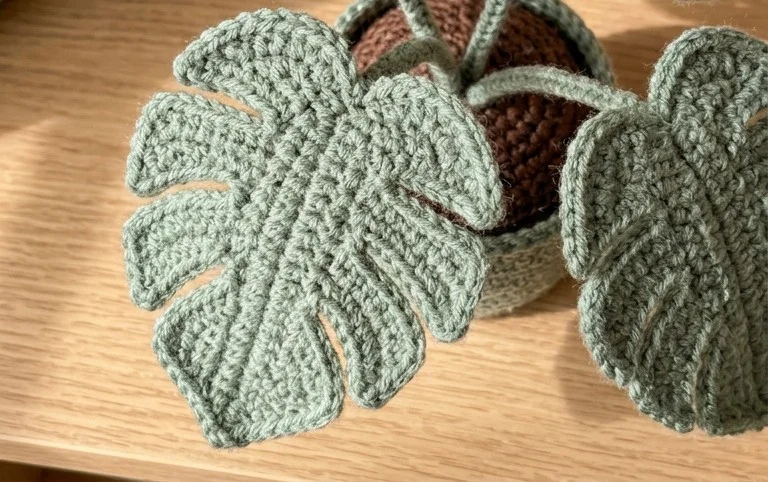
A finished crochet monstera looks striking when tucked into a terracotta pot on a sunny windowsill, adding a permanent touch of nature to your living space. If you want a smaller cluster, try using a lighter weight bamboo yarn to create miniature leaves for a tiny desk garden. Tag your photos on social media so others can see how your foliage turned out. Visit the archives on my blog to find more botanical projects and home accessories that you can complete over a quiet weekend afternoon.