Crochet Zig Zag Puff Stitch Coaster: Free Easy Pattern
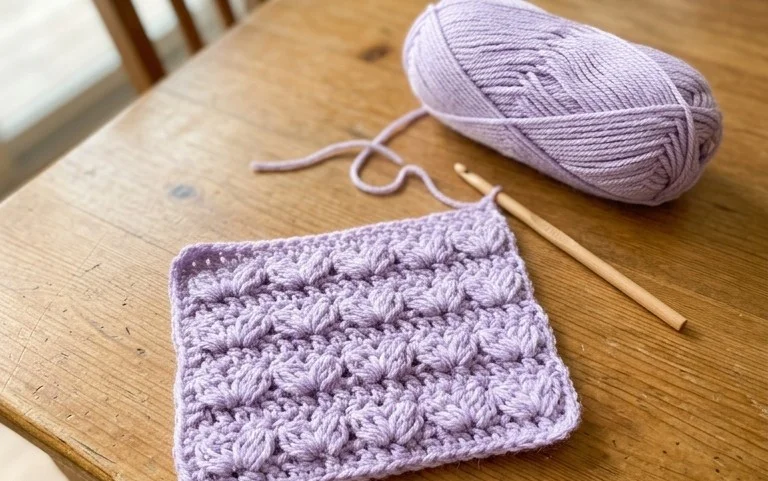
These textured coasters feature a distinct raised diagonal pattern that feels soft and squishy under a glass. The dense structure creates a firm base for your favorite mugs, effectively absorbing condensation before it reaches your furniture. Beginners often find this stitch sequence rewarding because it builds confidence through simple yarn-overs and repeated pull-throughs that create visible height. If you want to expand your skills beyond basic flat rounds, this project introduces the mechanics of puff clusters without requiring complex shaping. It transforms scrap cotton yarn into functional home decor pieces that look intentional and add warmth to any side table.
Why You’ll Love This Pattern
This beginner-friendly crochet coaster set works up in less than an hour using minimal yarn, making it an ideal choice for cleaning out your stash. The dense stitch construction provides enough thickness to protect your wooden surfaces from moisture rings, while the classic circular shape offers a satisfying, rhythmic repetition that is easy to memorize. You can complete a full set of four in a single afternoon, and because they use simple increases, they are perfect for practicing your tension control in the round. These coasters are sturdy enough for daily use and make thoughtful, handmade housewarming gifts that appear polished and professional.
I managed to whip up a stack of these for my dining room table during a weekend movie marathon. The pattern is very easy to follow and the finished coasters lay perfectly flat without any curling.
— Sarah, home crafter
Pattern Overview & Skill Level
- Skill Level: Beginner
- Approximate Time: 45 minutes for a set of 4
- Construction: Worked in continuous rounds from the center outward
- Finished Dimensions: 4 inches in diameter
Materials & Supplies Needed
- Yarn: Worsted weight (#4) 100% cotton yarn, approximately 15 yards per coaster. Cotton is required for its heat resistance and absorbency.
- Hook Size: 5.0 mm (H-8) crochet hook
- Notions: Tapestry needle for weaving in ends, one stitch marker to track the start of rounds
- Safe Yarn Substitutions: You may use an acrylic blend, but note that it will be less absorbent and will melt if used with extremely hot mugs. Using a DK weight yarn will result in a smaller coaster, while bulky weight will create a much larger, thicker mat.
Stitch Guide & Abbreviations (US Terms)
- MR = Magic ring: Create a loop with yarn, insert hook, draw up loop and ch 1 to secure.
- ch = Chain: Yarn over and pull through loop.
- sc = Single crochet: Insert hook, yarn over, pull up a loop, yarn over and draw through both loops on hook.
- inc = Increase: Work 2 sc in the same stitch to increase the count.
- sl st = Slip stitch: Insert hook, yarn over, pull through stitch and loop on hook.
- st/sts = Stitch/stitches
Step-by-Step Pattern Instructions
Coaster Body
- Rnd 1: Start 6 sc in a magic ring. Pull the tail tight to close the center hole. (6 sts)
- Rnd 2: Work 2 sc in each st around. (12 sts)
- Rnd 3: *1 sc in next st, 2 sc in next st. Repeat from * 6 times. (18 sts)
- Rnd 4: *1 sc in next 2 sts, 2 sc in next st. Repeat from * 6 times. (24 sts)
- Rnd 5: *1 sc in next 3 sts, 2 sc in next st. Repeat from * 6 times. (30 sts)
- Rnd 6: *1 sc in next 4 sts, 2 sc in next st. Repeat from * 6 times. (36 sts)
- Rnd 7: *1 sc in next 5 sts, 2 sc in next st. Repeat from * 6 times. (42 sts)
Finishing
After finishing Round 7, perform one slip stitch into the next stitch to create a smooth edge. Fasten off your yarn, leaving a 6-inch tail. Use your tapestry needle to weave the tail through the back loops of the final round to secure it. Trim any excess yarn close to the fabric, being careful not to cut your stitches.
Care & Washing Instructions
- Machine wash your cotton coasters on a gentle cycle in cold water.
- Lay the coasters flat on a clean towel to air dry to prevent them from stretching out of shape.
- If the coasters become wrinkled or slightly cupped after washing, press them with a warm iron or re-block them by pinning them flat to a foam board while slightly damp.
Pro Tips & Common Mistakes to Avoid
Maintain consistent tension throughout the project to ensure the coaster remains flat. If your coaster begins to cup or bowl, your tension might be too tight; try going up a half-hook size. If the edges are ruffling, your tension is likely too loose or you are adding too many stitches. Always use a stitch marker at the beginning of each round to avoid losing your place, as continuous rounds can be difficult to count visually. To adjust the size, simply continue the increase pattern by adding one additional stitch between the increases in every subsequent round, but remember that this will require more yarn.
Frequently Asked Questions
Can I use variegated yarn for this pattern?
Yes, variegated or self-striping cotton yarn creates a unique look for each coaster. Note that the color transitions will appear differently on each piece depending on where you begin your magic ring.
Is this pattern suitable for complete beginners?
Absolutely. This pattern relies entirely on the single crochet stitch and simple circular increases, providing a controlled environment to master basic round-based construction.
Can I sell the coasters I make from this pattern?
You are welcome to sell finished items made from this design. Please credit the original pattern design when selling your work online or at craft markets.
What happens if I forget to use a stitch marker?
Without a marker, it is easy to lose count of your rounds or stitch placement. If you lose your place, count the total number of stitches in your current round to determine if you have reached the correct end point for that specific round.
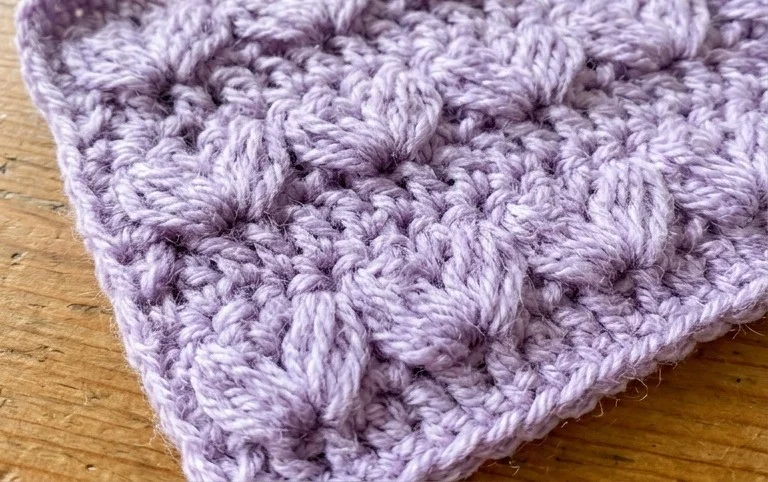
Your finished set adds a touch of handmade charm to your home and protects your surfaces with style. You might consider using a variegated cotton yarn for your next batch to make the puff texture pop with shifting colors. Please share a photo of your work on your favorite social media site so others can see your color choices. Browse the rest of the blog to find more beginner patterns for your kitchen or living room that use similar simple techniques.