35 Free Winter Headband Crochet Patterns for Beginners
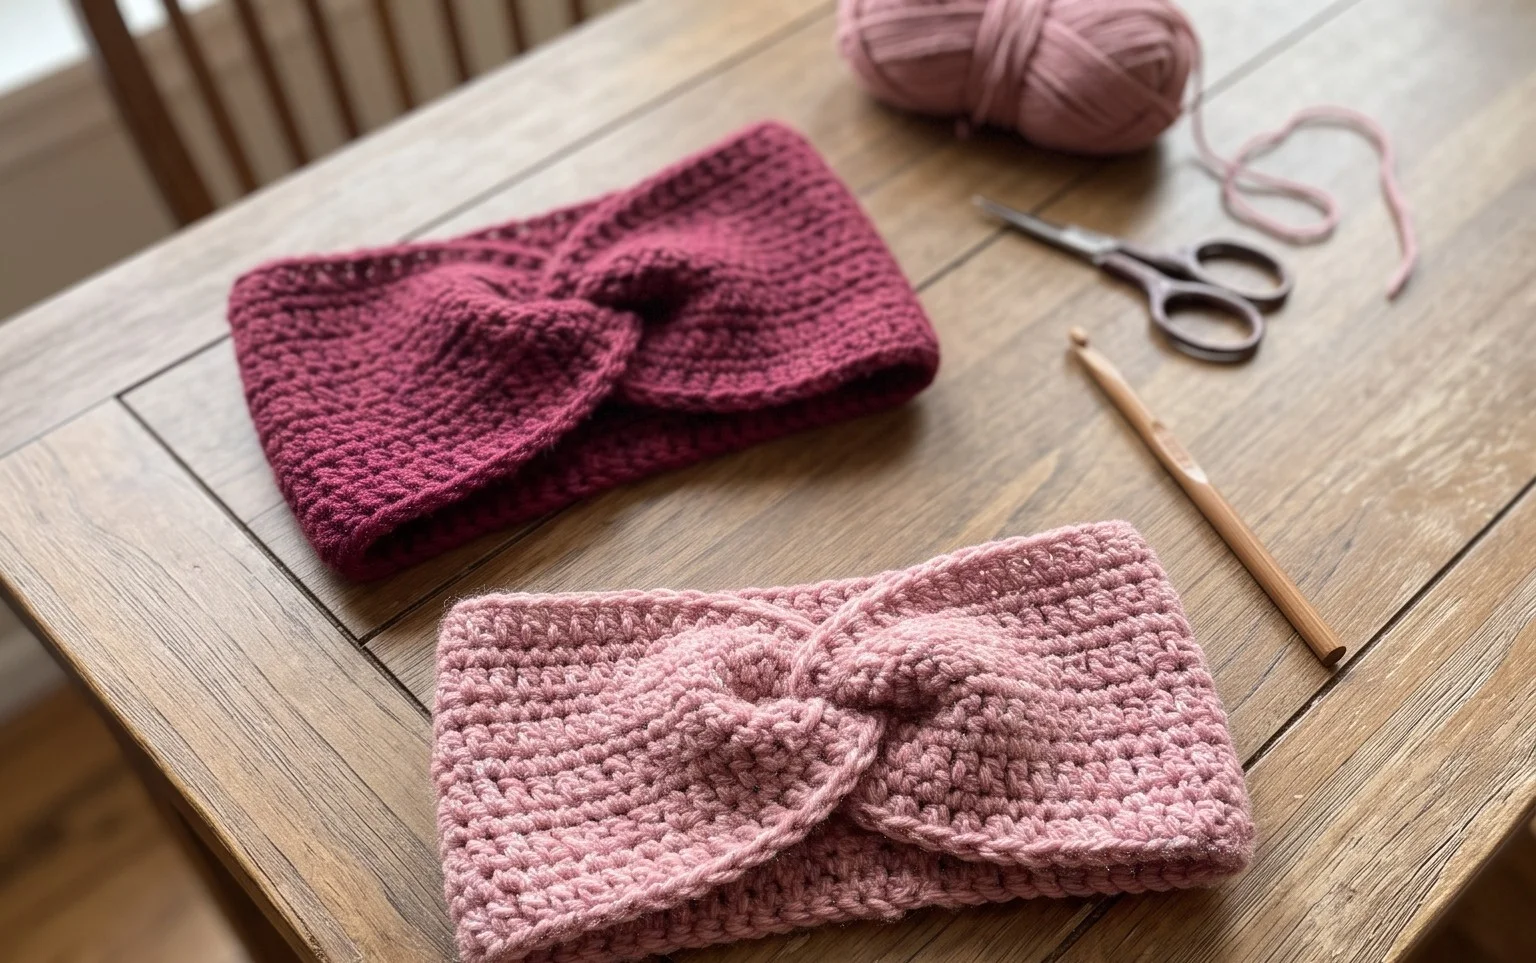
Soft wool against your ears transforms a biting winter morning walk into a comfortable experience. These winter headbands provide a snug layer of warmth without the bulk of a full beanie, making them practical for outdoor errands or long sessions in a drafty home office. Beginners will find these projects approachable because they rely on fundamental stitches like single, half-double, and double crochet worked in repeated rows. You will practice essential skills such as maintaining consistent tension and joining edges cleanly, all while finishing a functional accessory in just a few hours. These patterns help you utilize yarn scraps efficiently while creating gifts that feel both personal and useful for friends and family members who live in colder climates.
Why You’ll Love This Pattern
This crochet ribbed beanie pattern uses a simple construction method that mimics the look of knit fabric while relying on the speed and versatility of basic crochet stitches. The primary benefit is the use of the half double crochet stitch worked in the back loop only, which creates a stretchy, flexible texture that fits snugly without feeling constricting. Because it is worked flat as a rectangular panel and then seamed, this project is ideal for those who prefer working in rows rather than rounds. It serves as a great stash-busting project because it requires less than one full skein of standard worsted weight yarn, and the repetitive nature of the stitches makes it an excellent choice for a low-stress, evening relaxation project.
The texture of this hat is surprisingly soft and it took me only a few hours to finish. It fits perfectly and the seam is almost invisible once you fold the brim up.
— Sarah, hobbyist crocheter
Pattern Overview & Skill Level
- Skill Level: Beginner
- Approximate Time: 3 to 4 hours
- Construction: Worked flat in rows as a rectangle, then seamed along the side and gathered at the crown to form a hat.
- Finished Dimensions & Sizing: Fits an average adult head (20 to 22 inch circumference), 9 inches tall when laid flat.
Materials & Supplies Needed
- Yarn: Worsted weight (#4), wool or acrylic blend, approximately 200 yards.
- Hook Size: 5.0 mm (H-8).
- Notions: Tapestry needle for seaming and weaving ends, locking stitch markers, and scissors.
- Safe yarn substitutions: You can use a cotton blend for a heavier, stiffer hat, though it will have less stretch than wool or acrylic. If you choose a lighter weight yarn, you must increase your starting chain length to maintain the width and adjust the row count to match your gauge.
Stitch Guide & Abbreviations (US Terms)
- ch = chain
- hdc = half double crochet
- BLO = back loop only (insert hook under the back loop of the stitch only, leaving the front loop exposed to create a ribbed effect)
- st/sts = stitch/stitches
- sl st = slip stitch
- FO = fasten off
Step-by-Step Pattern Instructions
Hat Body
The body of the hat is worked in a single flat panel. You will work back and forth in rows until the piece is long enough to wrap around the head comfortably.
- Row 1: Ch 45. Hdc in the third ch from the hook and each ch across. (43 sts)
- Row 2: Ch 2 (does not count as a stitch), turn. Hdc in BLO of every st across. (43 sts)
- Rows 3–60: Repeat Row 2 until the piece measures approximately 20 inches wide when slightly stretched.
Assembly and Finishing
Once you reach the desired width, you will transform the flat rectangle into a three-dimensional hat.
- Seaming: Fold the rectangle in half so the short ends meet. Using a tapestry needle and a tail of yarn, whip stitch the two short ends together to form a tube. Turn the tube inside out so the seam is on the inside.
- Closing the Crown: Cut a 12-inch tail of yarn. Using your tapestry needle, weave the yarn in and out along the top edge of the tube. Pull the yarn tail tight to gather the opening shut. Secure the top with a few extra stitches through the center to ensure it stays closed.
- Weaving Ends: Turn the hat right side out and weave in all loose ends securely into the fabric, trimming the excess yarn close to the stitches.
Care & Washing Instructions
- Hand wash in cool water with a gentle wool-safe detergent to maintain the elasticity of the stitches.
- Lay the hat flat on a clean towel to air dry, reshaping it while damp to ensure it retains its circular form.
- Avoid wringing or twisting the fabric when wet, as this can permanently stretch the fibers and distort the ribbed structure.
Pro Tips & Common Mistakes to Avoid
- Consistent Tension: Because this hat relies on the BLO stitch for stretch, keep your tension even throughout the rows. If your tension is too tight, the hat will lose its ability to stretch over the head.
- Stitch Counting: Place a stitch marker in the first and last stitch of every row to ensure you do not accidentally drop or add stitches at the edges, which would create a crooked seam.
- Invisible Seaming: When joining the short ends, match your stitches precisely. Using the mattress stitch instead of a whip stitch can result in a flatter, more professional-looking join.
- Adjusting Size: To make the hat larger or smaller, adjust the starting chain count. Each chain represents a small fraction of an inch; adding or subtracting 5 chains will change the circumference by roughly 1.5 inches. Keep in mind that a larger hat will require slightly more yardage.
Frequently Asked Questions
Can I substitute the worsted weight yarn for a bulky weight yarn?
Yes, but you will need to reduce the number of starting chains to compensate for the thicker yarn. Work a small swatch to see how many stitches equal 4 inches and adjust your chain accordingly.
How do I know if the hat is the right size?
Wrap your finished rectangle around your head before seaming. It should fit snugly without pulling the stitches apart. If it feels too loose, remove a few rows before joining the ends.
Is this pattern suitable for complete beginners?
Yes, this is an excellent first project. It teaches you how to work in rows, maintain stitch counts, and execute the BLO technique, which is foundational for many garment patterns.
May I sell the hats I make using this pattern?
Please check the original source designer’s terms of service regarding commercial use of their patterns. Many designers allow small-batch sales, provided you credit the pattern to them.
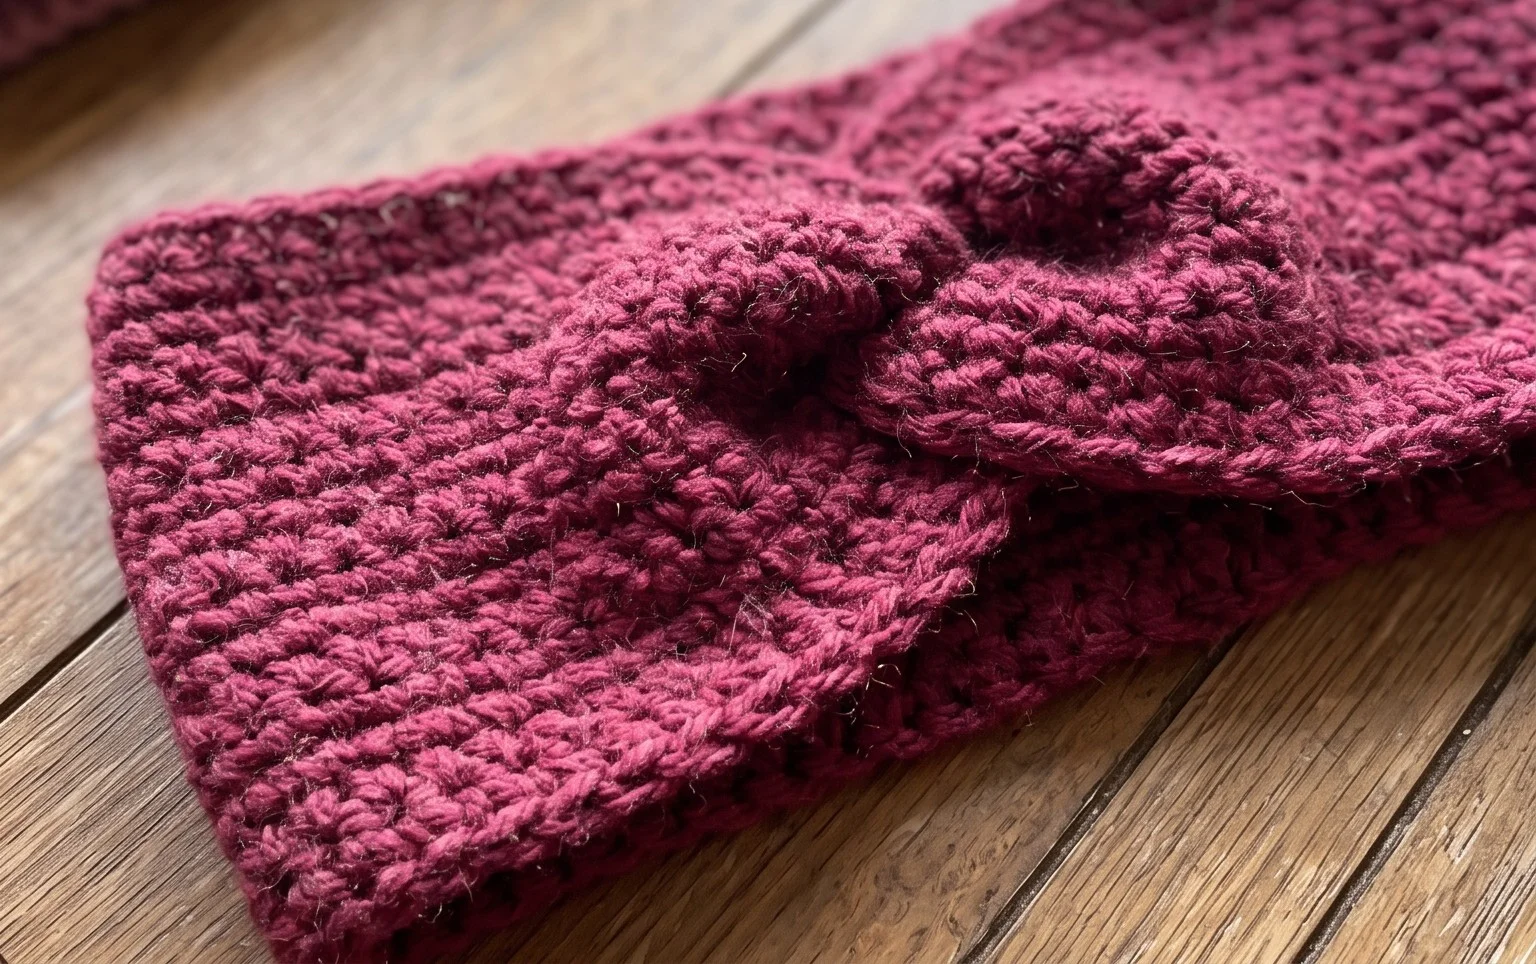
Holding your completed accessory for the first time shows how simple stitches create a professional result that keeps out the cold. You can adjust the fit by working fewer chains at the start for a smaller size or by switching to a variegated yarn to add visual interest to a basic ribbed design. Sharing a photo of your finished work helps others visualize their own yarn combinations and inspires new projects. Please visit the main project gallery on this blog to discover more free winter patterns that build on these same fundamental techniques for your next afternoon session.